Getting Started with Zolvio
Install Zolvio from the Shopify App Store and start understanding your visitors in minutes.
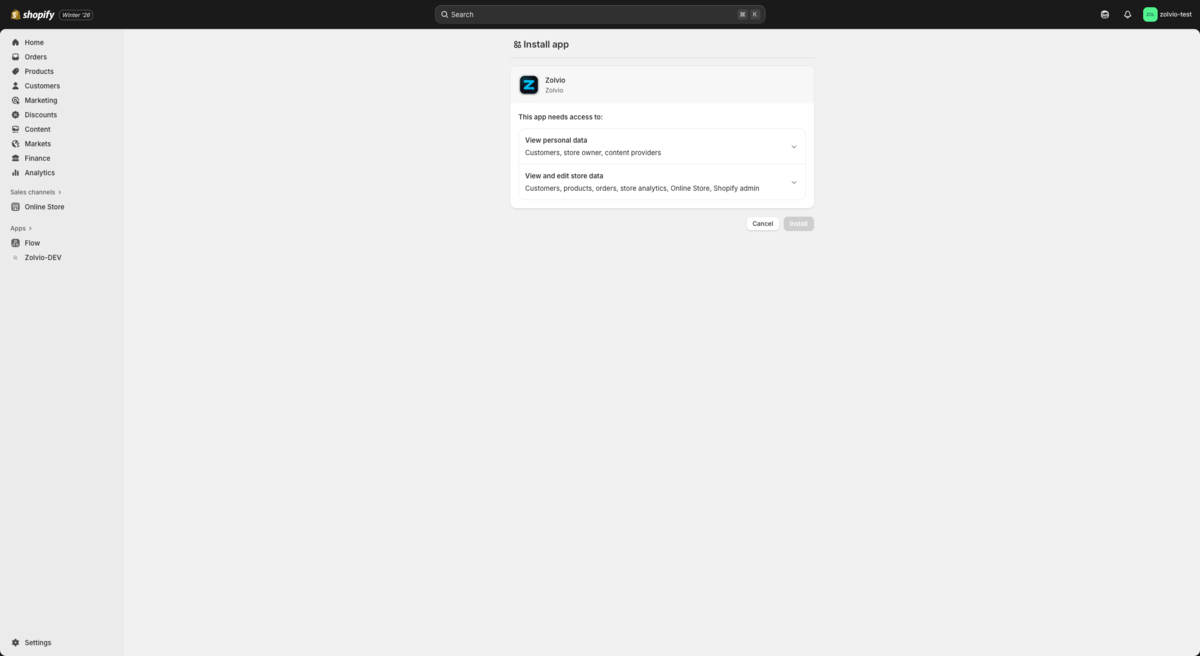
Installation
- Visit the Shopify App Store and search for "Zolvio"
- Click "Add app" and authorize Zolvio to access your store
- Complete the onboarding wizard to configure your preferences
Screenshot placeholder
1200×720px •
/docs-images/getting-started/onboarding-wizard-1200x720.pngAdd a file at this path to replace the placeholder.
Dashboard Overview
Once installed, you'll see the Zolvio dashboard with:
- Store Health Score - An overall grade of your store's conversion readiness
- Recent Sessions - Latest visitor recordings
- Active Tests - Any running A/B tests
- Detected Issues - Problems found by AI audits
First Steps
We recommend starting with these actions:
- Run an AI Audit - Click "Run Audit" to scan your store for conversion issues
- Enable session recordings - Follow recording setup
- Watch a Session - View a few recordings to understand behavior patterns
- Check a Heatmap - See where visitors click on key pages
- Run an A/B Test - Use A/B testing setup to start safely
Data Collection
Zolvio starts collecting analytics after installation and theme extension enablement:
- Session recordings begin immediately for new visitors
- Click and scroll data is captured for heatmaps
- Inputs are masked and sensitive paths are excluded to reduce PII risk
Privacy and consent
You are responsible for configuring consent and updating your storefront policies to disclose recording/analytics. See Privacy & Compliance for a checklist.
Tip
It may take 24–48 hours to accumulate enough traffic for meaningful insights. Heatmaps require minimum thresholds before they show as “Ready”.